Home : Linux Digital Fansubbing Guide : WAV Timing in Linux
This procedure is not for the faint of heart! It requires patching and recompiling software and installing a database. You will probably not get very far with this setup if you aren't fluent with manipulating Linux software. Even then, you probably need to know SQL for best results, since I haven't gotten around to writing any pretty interfaces yet.
mysql in a
terminal. Enter (or cut and paste) the following text into
mysql to set up the script database:
create database script;
use script;

create table times (
id int unsigned not null auto_increment,
start float,
end float,
dialogue mediumblob,
primary key (id)
);

exit;
Now you're ready to go.
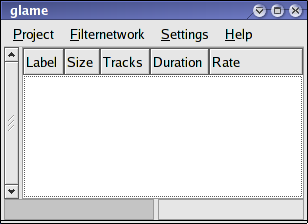
glame. You'll get a rather sparse looking program
window:
Click on Project and select Import... to get
the file selection window:
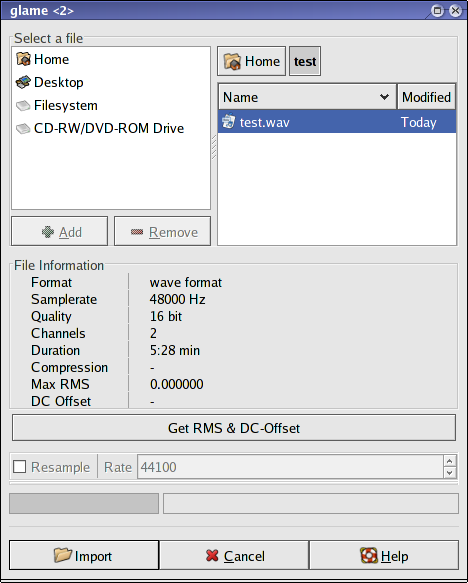
Locate the WAV file you want to use for timing.
Load it into the program with the Import button. Then
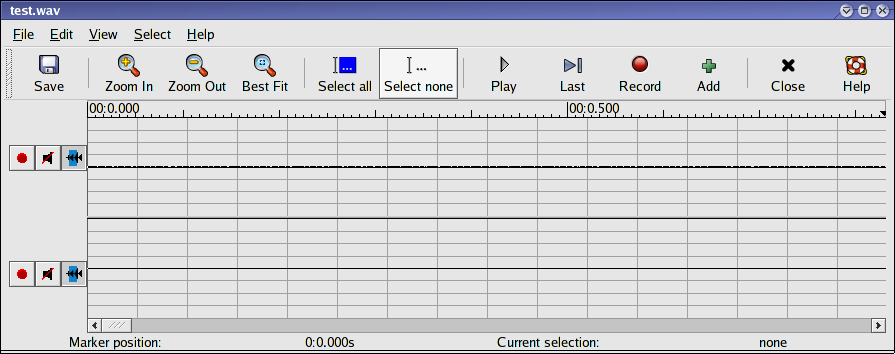
go back to the main program window and double click the WAV file you
just loaded. This will bring up the timing window. You'll want to do two
things immediately. First, click the "Select none" button in the middle, just
in case something is selected when you first start up:
Then, zoom out several times using the "Zoom Out" button:
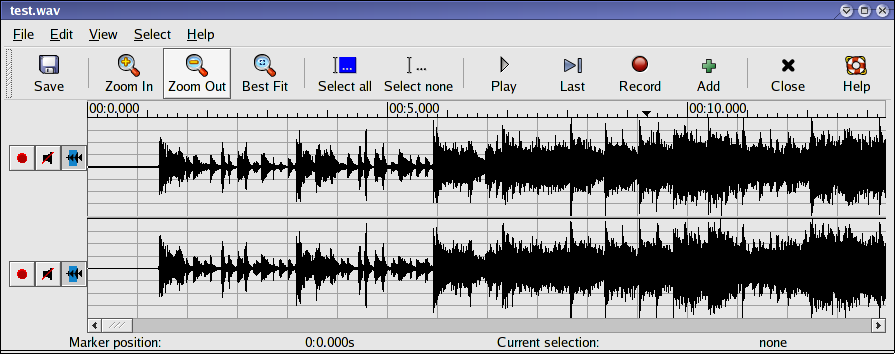
From here you can start work. Scroll the WAV file using the arrow keys or the scrollbar on the bottom. To select an interval, use the left and right mouse buttons, as follows:
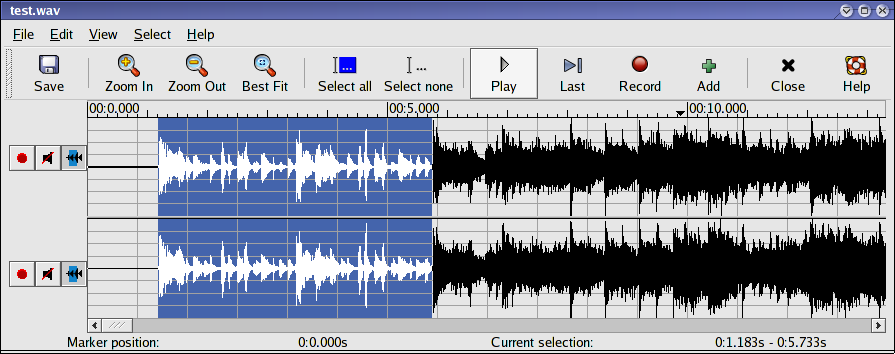
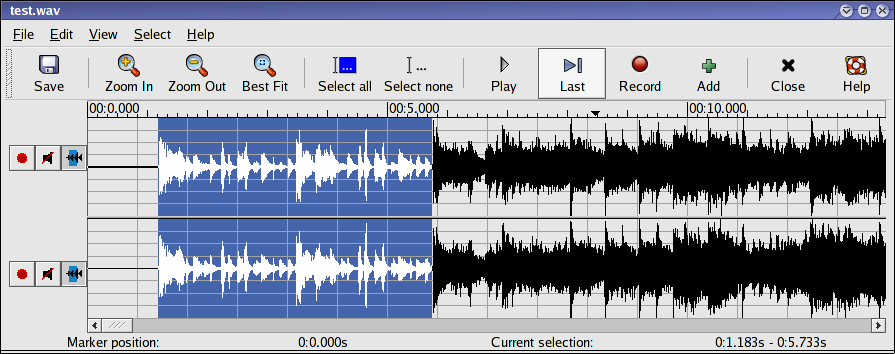
The "Last" button plays the final half second of the selected interval. This is very useful if you need to tweak the endpoint of the time interval.
The "Add" button will save the timings of the selected interval into the mysql database:
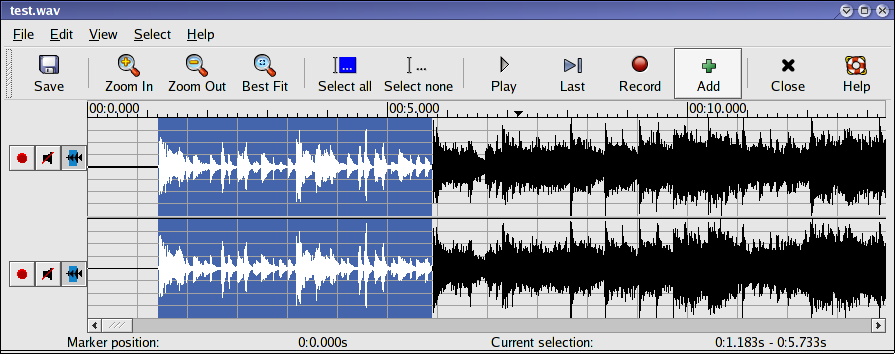
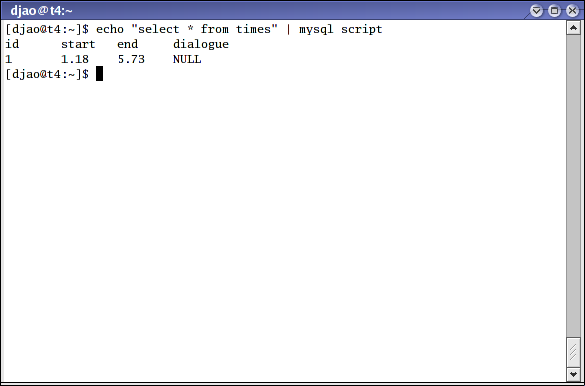
The Add button produces no visible feedback when pressed! I know this is bad interface design, but I am too lazy to spend any more effort on my subtitling patch than I have to. To check that the times actually got entered into the database, run the following mysql command from a terminal:
When you're done saving all your timings, then download the txt-to-script.pl script and run the command
echo "select * from times order by start" | mysql script | txt-to-script.pl > file.srtfrom the terminal to save the times from the script in the file
file.srt. The output script file.srt is in SubRip format, and you can
edit it with any text editor to add the lines of dialogue. If you are
fansubbing with Linux, then you can use this
script file directly after editing, since mplayer understands Subrip files
natively.
Happy timing!